

Today’s manicure Monday is all about the magnetic force in
nail polish. I have been eyeing this nail candy for months now, but was
hesitant to buy it because the cost of it was more than even the higher-end
nail polishes out there. Plus, I was afraid to purchase it only to end up have
it not work. Well, my fears were unfounded, and I find that I love this type of
nail design after trying it out! It really works! The nail manicure process is
not a quick one, though; you have to have some extra time on hand to make this
manicure happen. Following are some of the steps that I took to make this work
(since the instructions on the bottle weren’t all that helpful). The
color I chose was #905 Red-y Response!
Savings ALERT: Go to
Ulta and use the $3.50 coupon that the store has to get the polish for $6.50
instead of $10.00 :)


- Apply a thin coat of the polish onto your nails.
- Quickly apply a second coat, though not as thin as the first one.
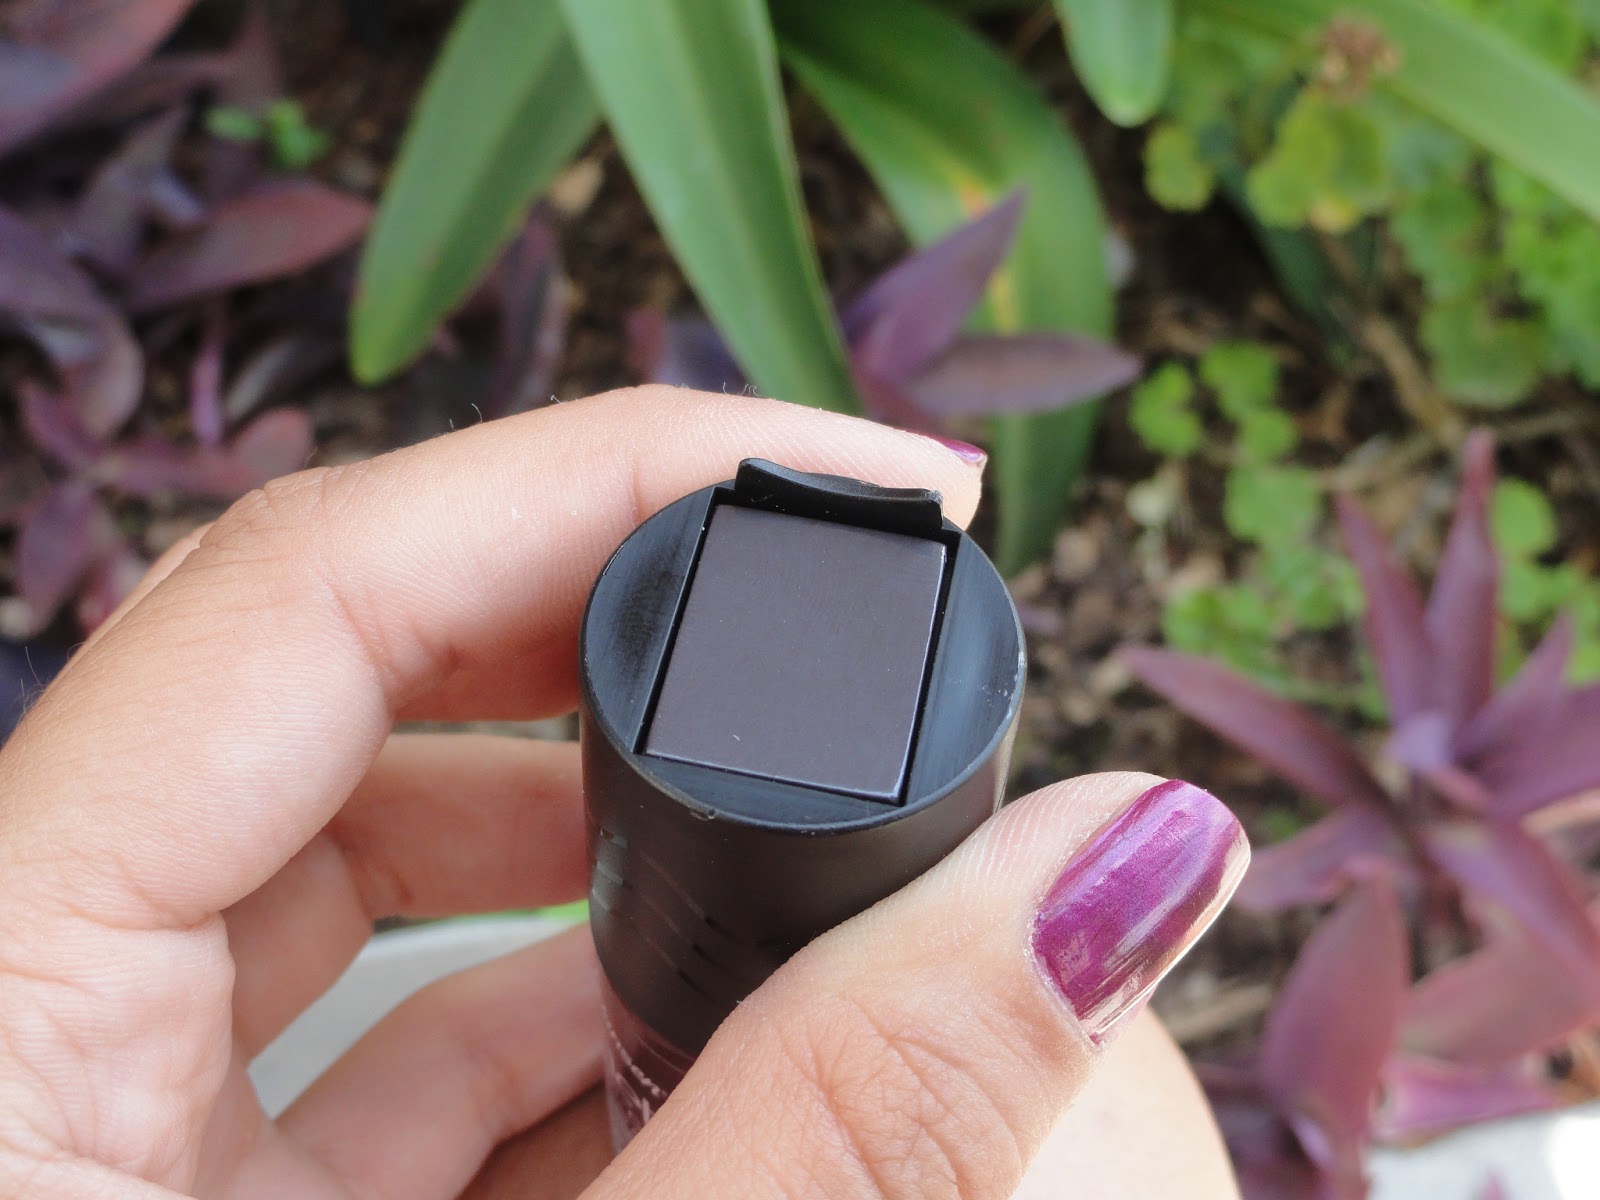
- Once you apply the polish, remove the magnetic top portion of the bottle and put it as close to your nail as you can get it (without touching of course).
- The iron filaments in the polish will start moving after 10 seconds of holding the magnetic piece over your nails.
- Once you get the design you like make sure to put a clear top coat to both seal the nail polish and prevent chipping.
- And there you have it… Your magnetic manicure!
No comments:
Post a Comment